Because of the huge amount of sound pressure being created by the kick drum, it is important to use a mic with a high SPL rating. By far, the most common mic to use is a wide-diaphragm dynamic mic, though some condenser mics are rugged enough to handle a kick drum. The mic also needs to have a good low-frequency response, particularly when recording heavier styles of music.
Placement options for a kick drum mic include:
- 1–2″ outside the hole in the resonant head, or from the head itself if there is no hole.
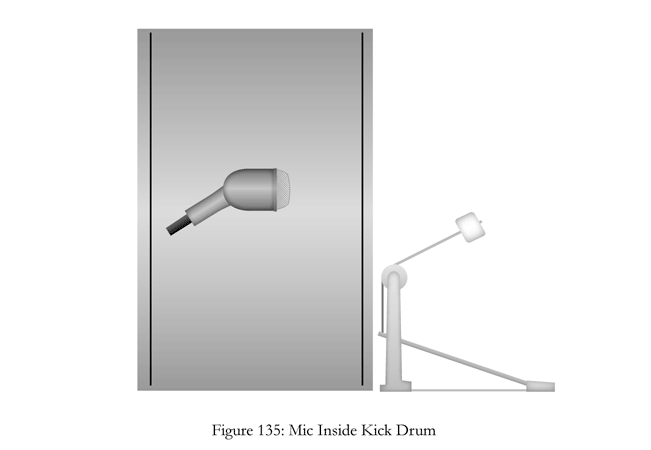
- Inside the drum at a distance of 2–3″, pointed at the spot where the beater makes contact with the batter head (see Fig. 135).
- Below the drum throne, pointed at the spot where the beater makes contact with the batter head.
Another interesting technique that is quite popular is making a drum mic from an old speaker. This is traditionally done with the woofer from a Yamaha NS-10 monitor, though any woofer will work. Results will vary from one speaker to the next. The speaker is removed from its cabinet, wired to a mic cable, and mounted to a stand placed 1–2″ from the resonant head of the kick drum. This generally results in a signal with plenty of low end thump. There are many ways to build such a mic, and there are plans readily available on the internet.
Low-end thump can be added to an existing recording by playing the kick drum track through a subwoofer, then miking the subwoofer and recording it onto a separate track. The recorded subwoofer track then has a low-pass filter placed on it and is blended with the original kick drum track.
For more information see How To Mic A Drum Kit.
