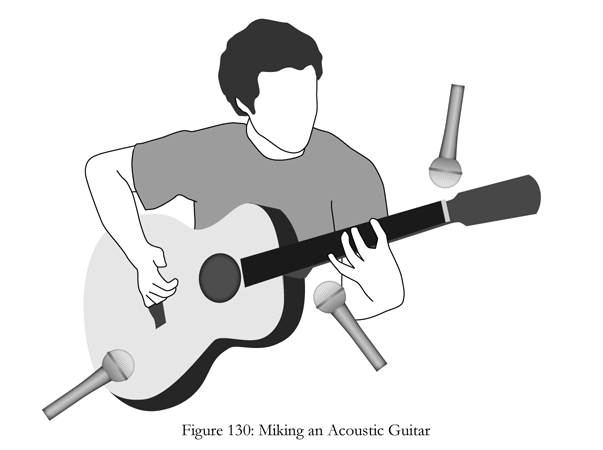
Many novice recordists fall into the pitfall of recording an acoustic guitar by placing the mic directly in front of the soundhole. While this placement provides plenty of volume, it rarely offers great tone. Below are a few popular placements (see Fig. 130). Most engineers will choose a bright-sounding condenser mic for these applications.
- Pointed at the top of the body, just below the bridge an a distance of 5–6″.
- Pointed at the 12th fret with distance of 3–5″.
- Miking the nut at a distance of roughly 1″ offers a very bright sound. On its own this placement rarely has much body but can be blended with another mic placement to add sparkle. This can be done with a clip-on style condenser mic designed for drums or horns – but be sure to cut low frequencies, as the vibrations through the clip can cause some deep rumble.
- Some recording engineers will record a feed directly off an acoustic pickup and blend it in with the miked sound. This can add brightness and help the acoustic cut through a mix. Recording the pickup, however, rarely sounds natural on its own.
- Stereo techniques such as X-Y and ORTF can be very effective as well. These techniques are explained in the Stereo Miking Techniques section below.
The most common mic to use on acoustic instruments is a condenser mic. The choice of pickup pattern will depend on the acoustics of the room and if there are any other instruments or sounds in the room that you are trying to avoid. Cardioid or hyper-cardioid patters are safest, though in a nice-sounding room it can be beneficial to experiment with bi-directional or omnidirectional microphones.
This is an excerpt from The Encyclopedia of Home Recording, a complete reference for the home recording studio by Mark Garrison. For more information about this book, please visit homerecordingbook.com.
